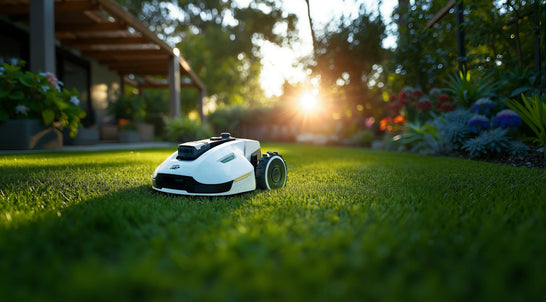
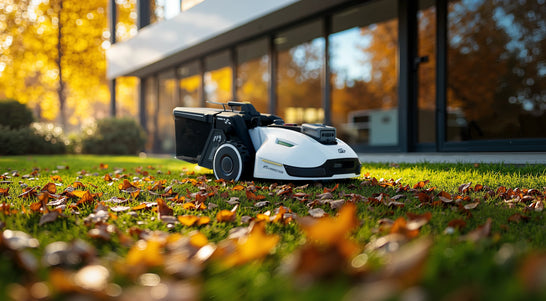
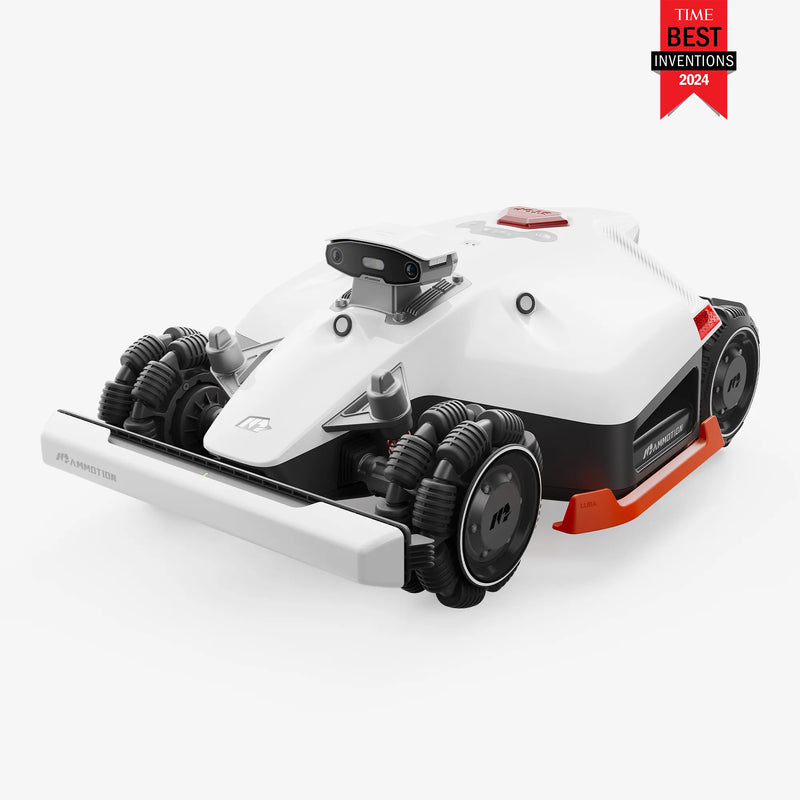
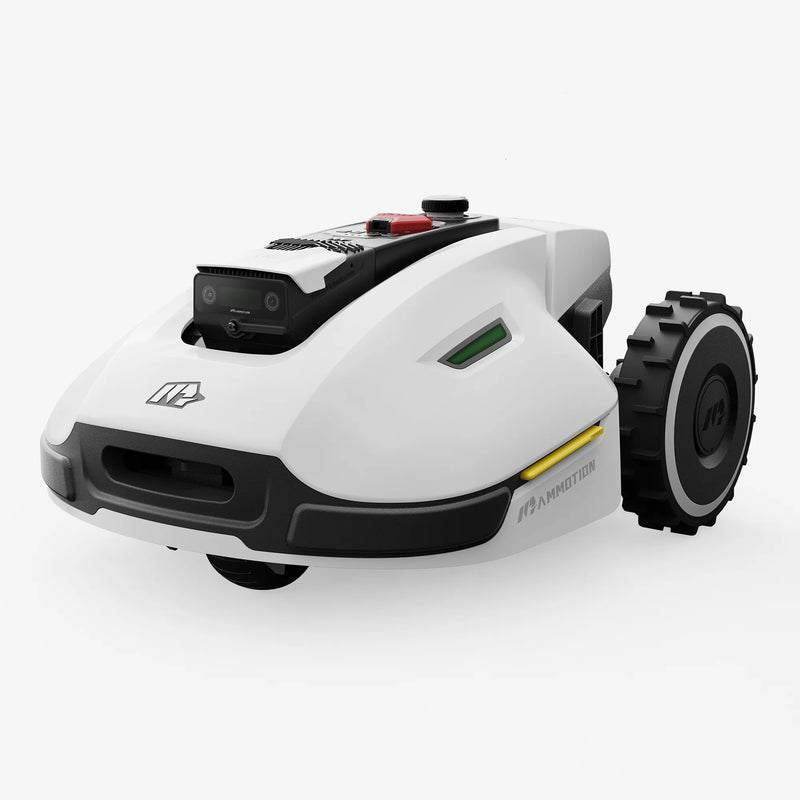
As the cooler months settle in across Australia, it's easy to forget about your robotic lawn mower. After all, your grass isn’t growing like it used to — so why worry? The truth is, properly winterizing your robotic mower is essential for keeping it in top condition, especially in southern states like Victoria, Tasmania, and parts of New South Wales where winters can bring moisture, frost, and sudden cold snaps.
Even if you live in milder areas like coastal Queensland or Perth, the seasonal slowdown in lawn growth means your mower will be idle for weeks — sometimes months. And just like any smart piece of technology, your robot mower needs a little TLC before going into hibernation.
This guide is written specifically for Aussie homeowners who own a robotic mower. We’ll take you through everything you need to know to winterize your mower properly — step by step — in a way that’s simple, practical, and aligned with Australian conditions.
Let’s get started.
When & Where to Store Your Robotic Lawn Mower
When to Winterize:
In most parts of Australia, the need to mow regularly starts tapering off between May and July, depending on your region and local climate. You’ll notice the grass slows right down — especially in the cooler southern states — and your mower might be heading out less frequently.
As a rule of thumb:
- Winterize your mower once your lawn stops growing consistently for more than a week or two.
- This usually means mid-May to early July for much of southern and inland Australia.
- In warmer zones like Brisbane, Darwin, or northern NSW, you might delay this until late July or even August — or opt for reduced mowing instead of full storage.
Tip: Watch your mower’s cutting schedule — when it’s hardly doing anything, it’s time to prepare it for storage.
Where to Store It:
Proper storage is one of the most important parts of winterizing. Leaving your robotic mower outdoors, even under a cover, exposes it to condensation, frost, insects, and other hazards that can damage electronics, blades, and battery systems.
Ideal Storage Location:
- Dry, frost-free, and secure — like a shed, garage, or covered storage cabinet.
- Room-temperature environment is best — especially for lithium-ion batteries, which don’t like extreme cold or heat.
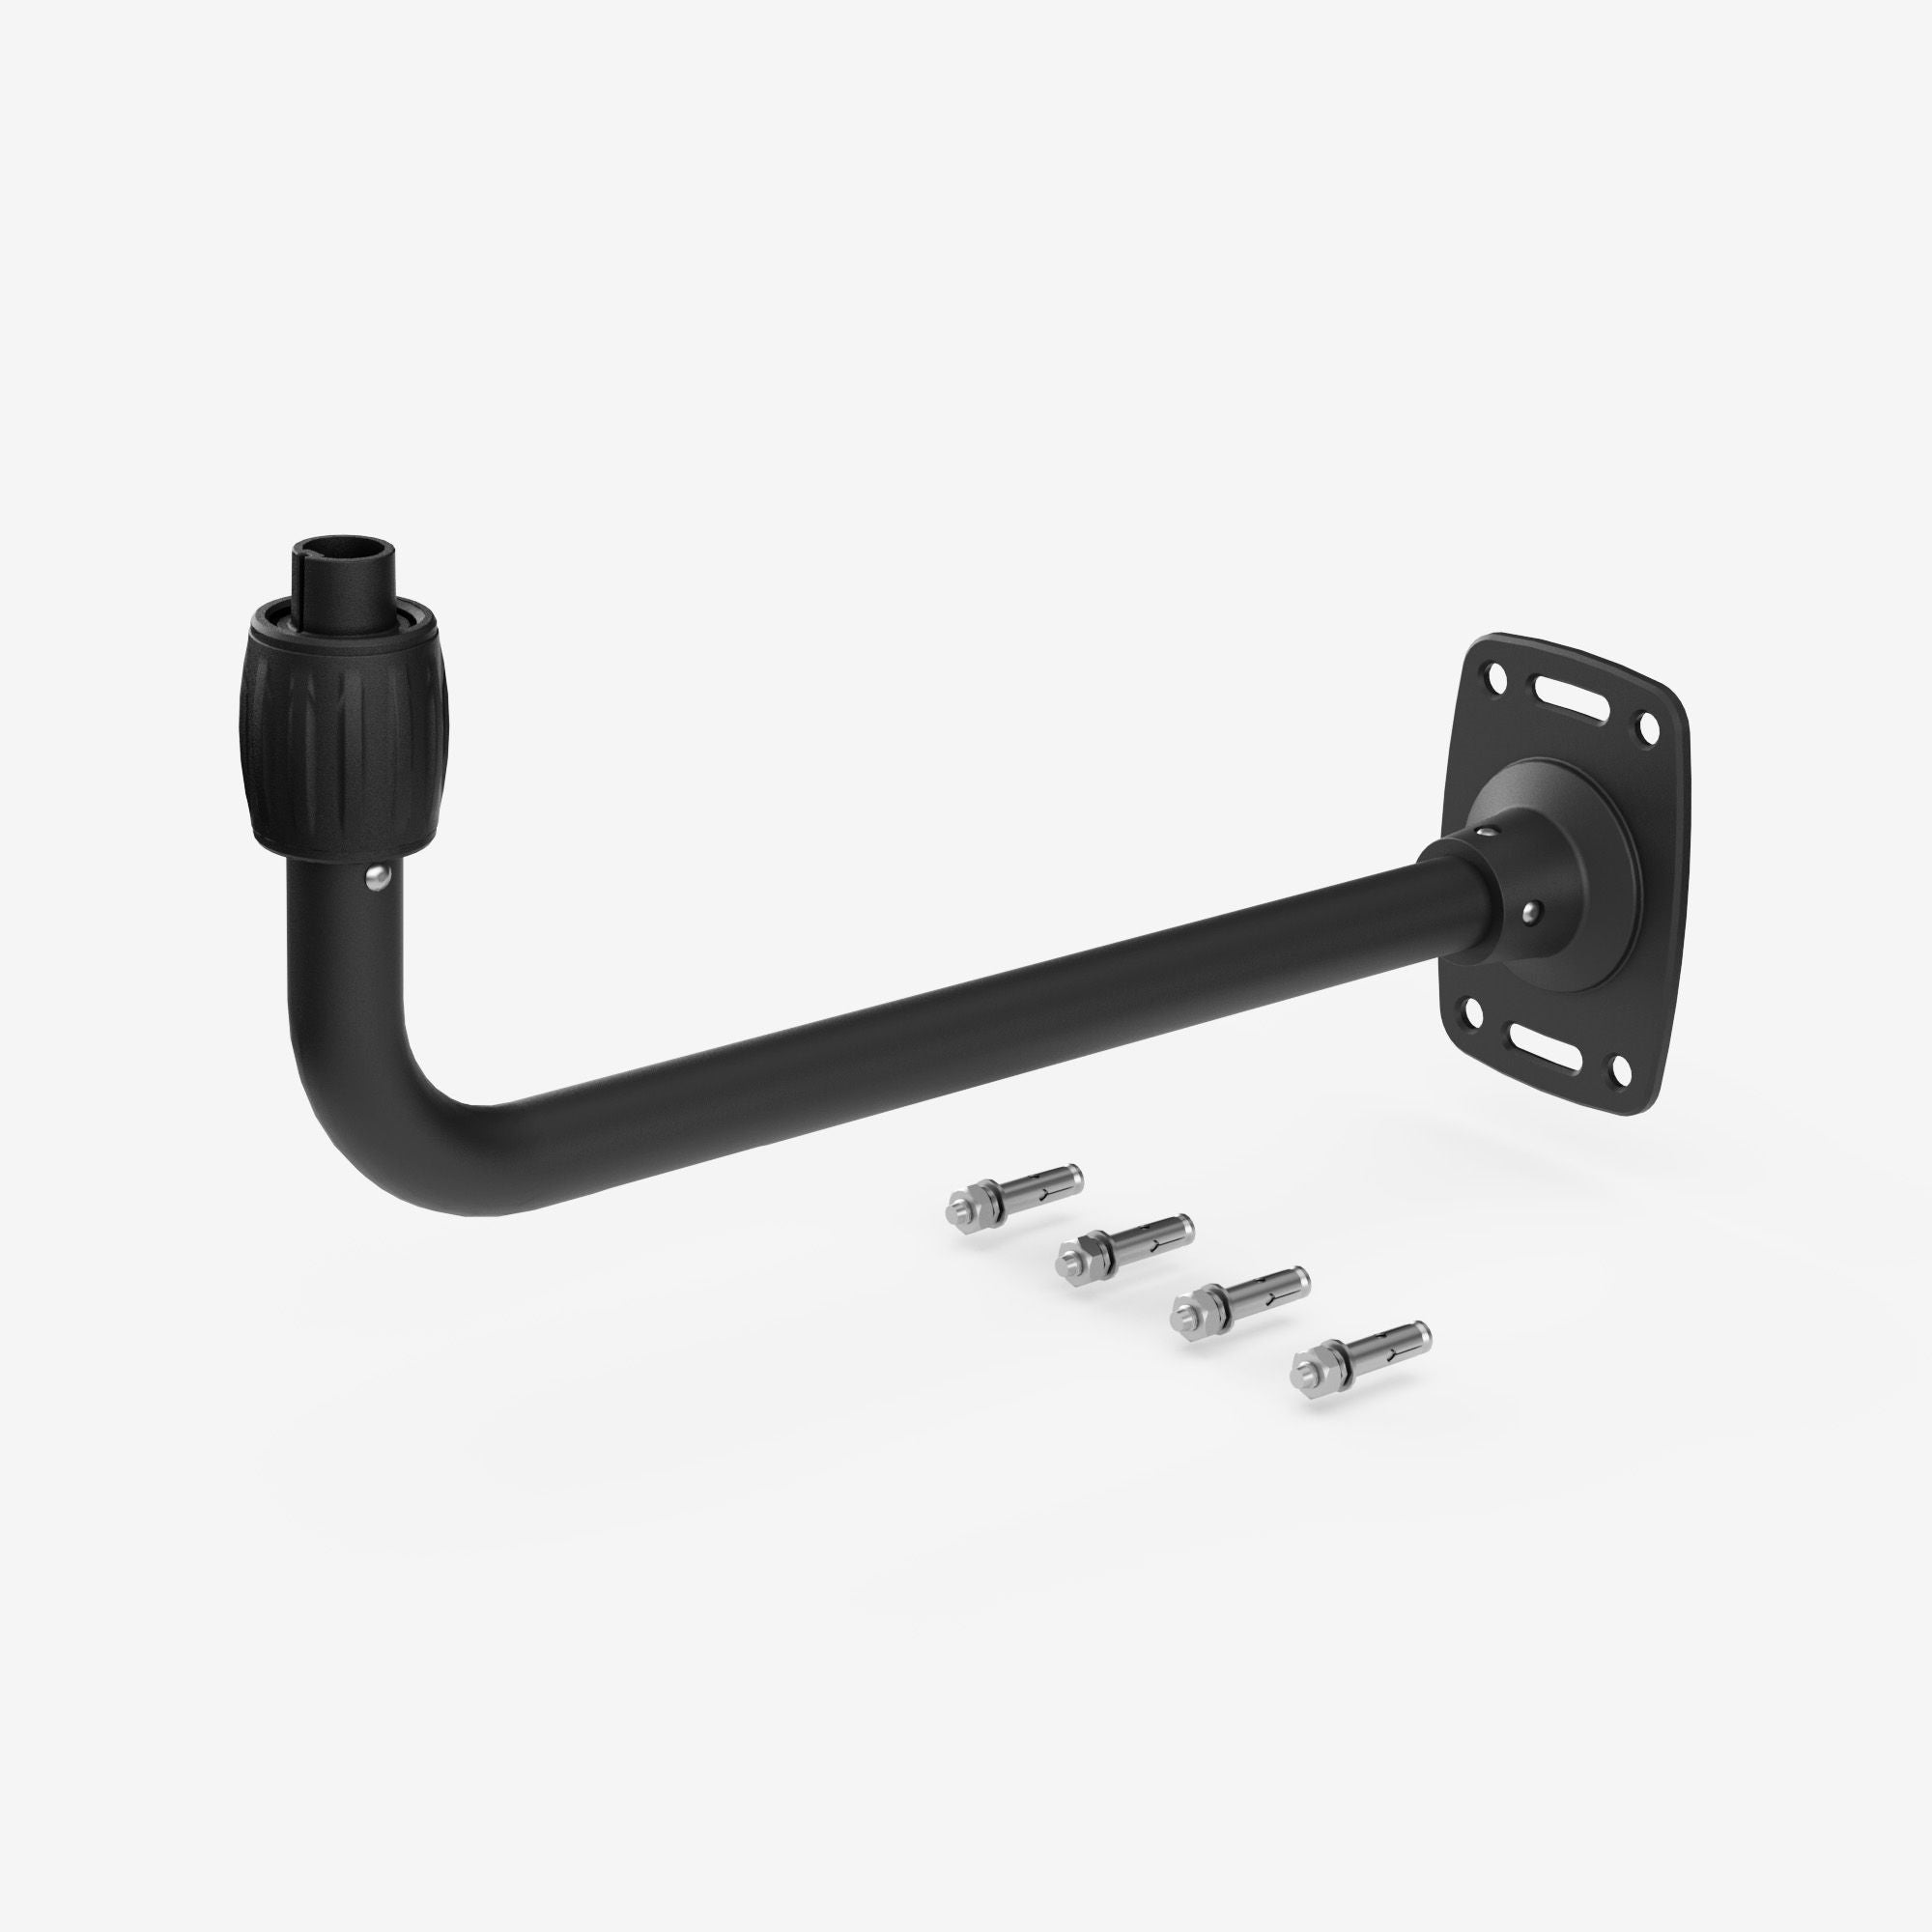
- Off the ground (e.g. shelf, wall hanger, or padded box) helps prevent moisture buildup and accidental bumps.
What to Avoid:
- Outdoor storage, even under a weatherproof cover, unless specifically designed for harsh weather (rare in Australia).
- Damp or unventilated areas — mildew and condensation can corrode internal parts.
- Leaving it on the charging base in winter — many models recommend unplugging and disconnecting the base during off-season.
Now that you know when and where to store your robot mower, next up is the step-by-step preparation you should follow before tucking it away.
Pre‑Storage Preparation Steps
Before you roll your robotic mower into the shed and call it a day, it’s essential to properly prepare the unit. Skipping this step could lead to battery issues, hardware damage, or even a failed start-up when spring returns.
Here’s how to prep your mower the right way:
a. Final Mow & Battery Care
- As your grass enters winter dormancy, resist the urge to scalp the lawn before storage. Instead:
- Let the grass sit slightly longer than usual — this helps protect roots from frost and drought.
- Complete a final mow just before storage to prevent mould or debris buildup under the cutting deck.
Battery Best Practices:
- Fully charge the mower before turning it off for storage.
- Some older models recommend storing at 50–70% battery — check your manual.
- Turn the mower off completely using the main power switch.
Never store it with a completely flat battery, as lithium-ion batteries can become unstable or refuse to charge later.
Pro Tip: For brands like Mammotion, Husqvarna, and Segway, battery maintenance during storage is minimal if fully charged and stored in the right temperature range (10–25°C).
b. Deep Cleaning
Grass clippings, dust, and moisture can do serious damage during winter. A proper clean prevents corrosion, odours, and electrical issues.
Cleaning Checklist:
Remove all grass and debris from:
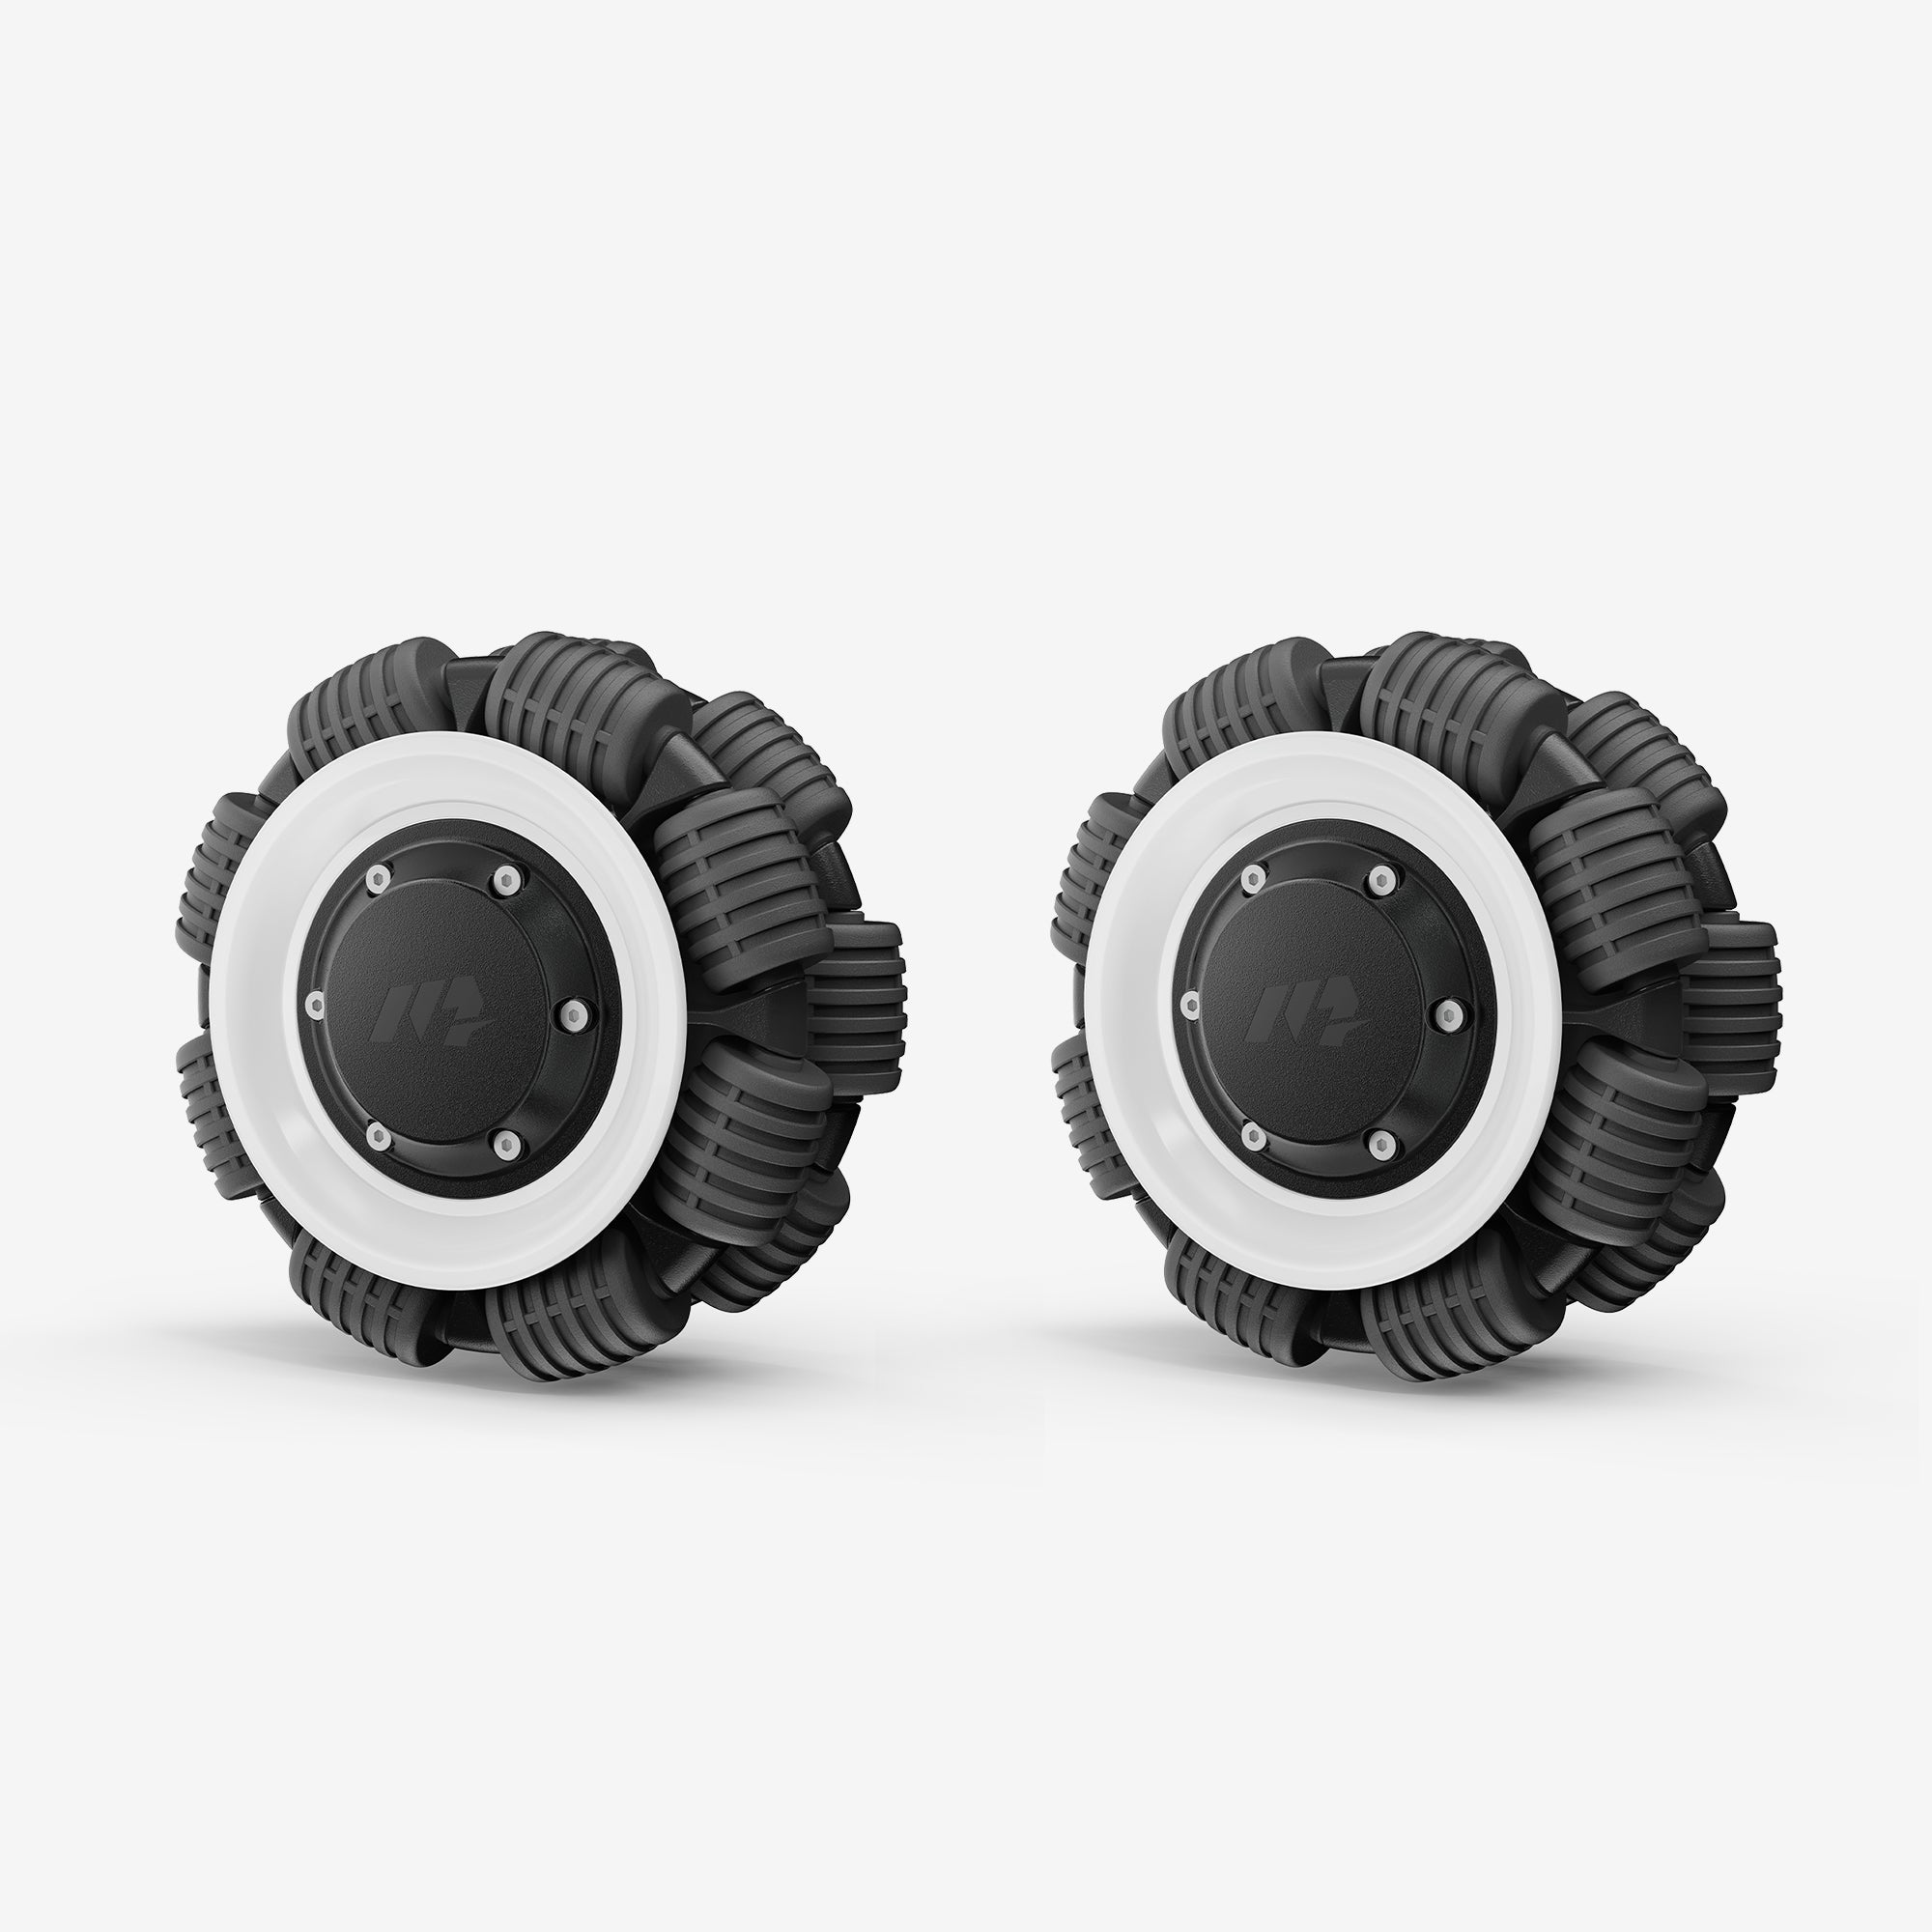
- Wheels and treads
- Cutting deck and blades
- Underside sensors and bodywork
- Use a soft brush or damp cloth — avoid pressure washers or hose-downs.
- Clean the charging station and make sure the contacts are dry.
Avoid This: Pressure washers can damage seals and force water into sensitive electronics — multiple manufacturers (Mammotion, Husqvarna, Einhell) strongly warn against this.
After cleaning, let all parts dry completely before moving to the next step.
c. Blade & Hardware Check
Winter is the perfect time to take a few minutes and inspect the mower's hardware.
What to Inspect:
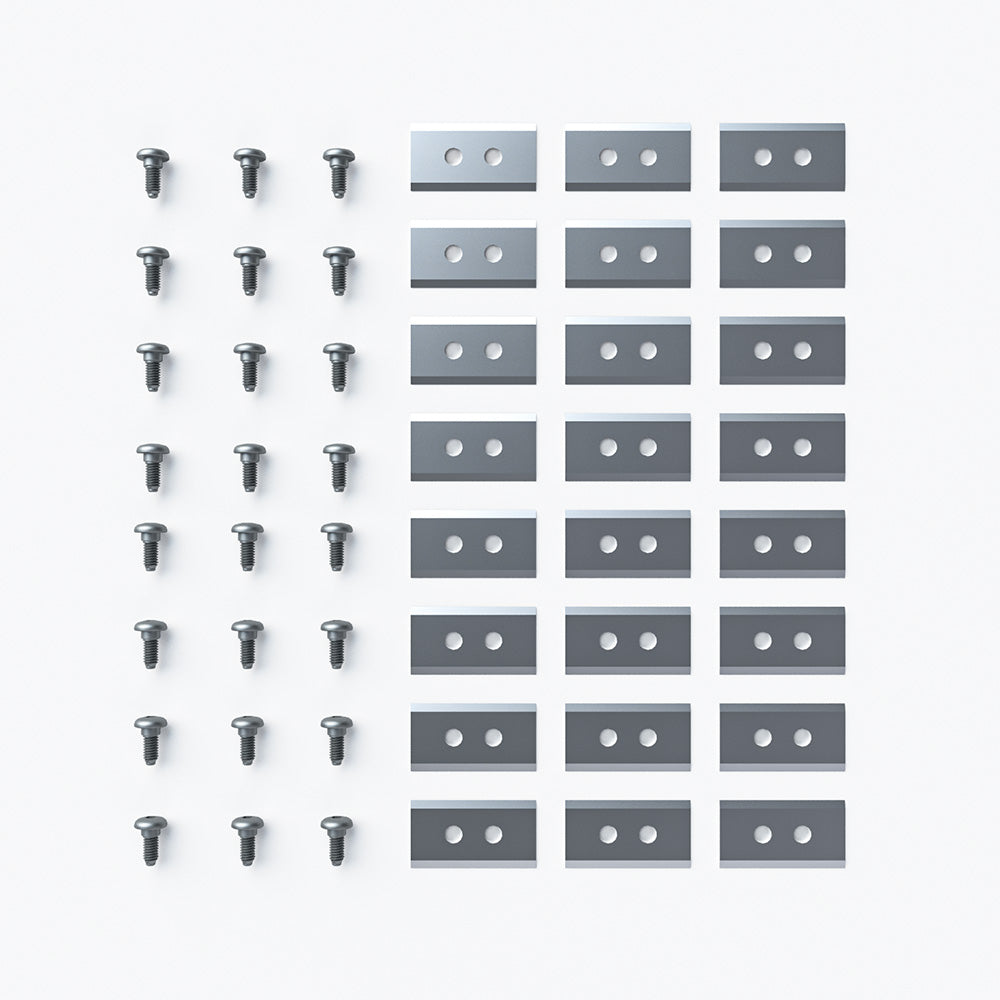
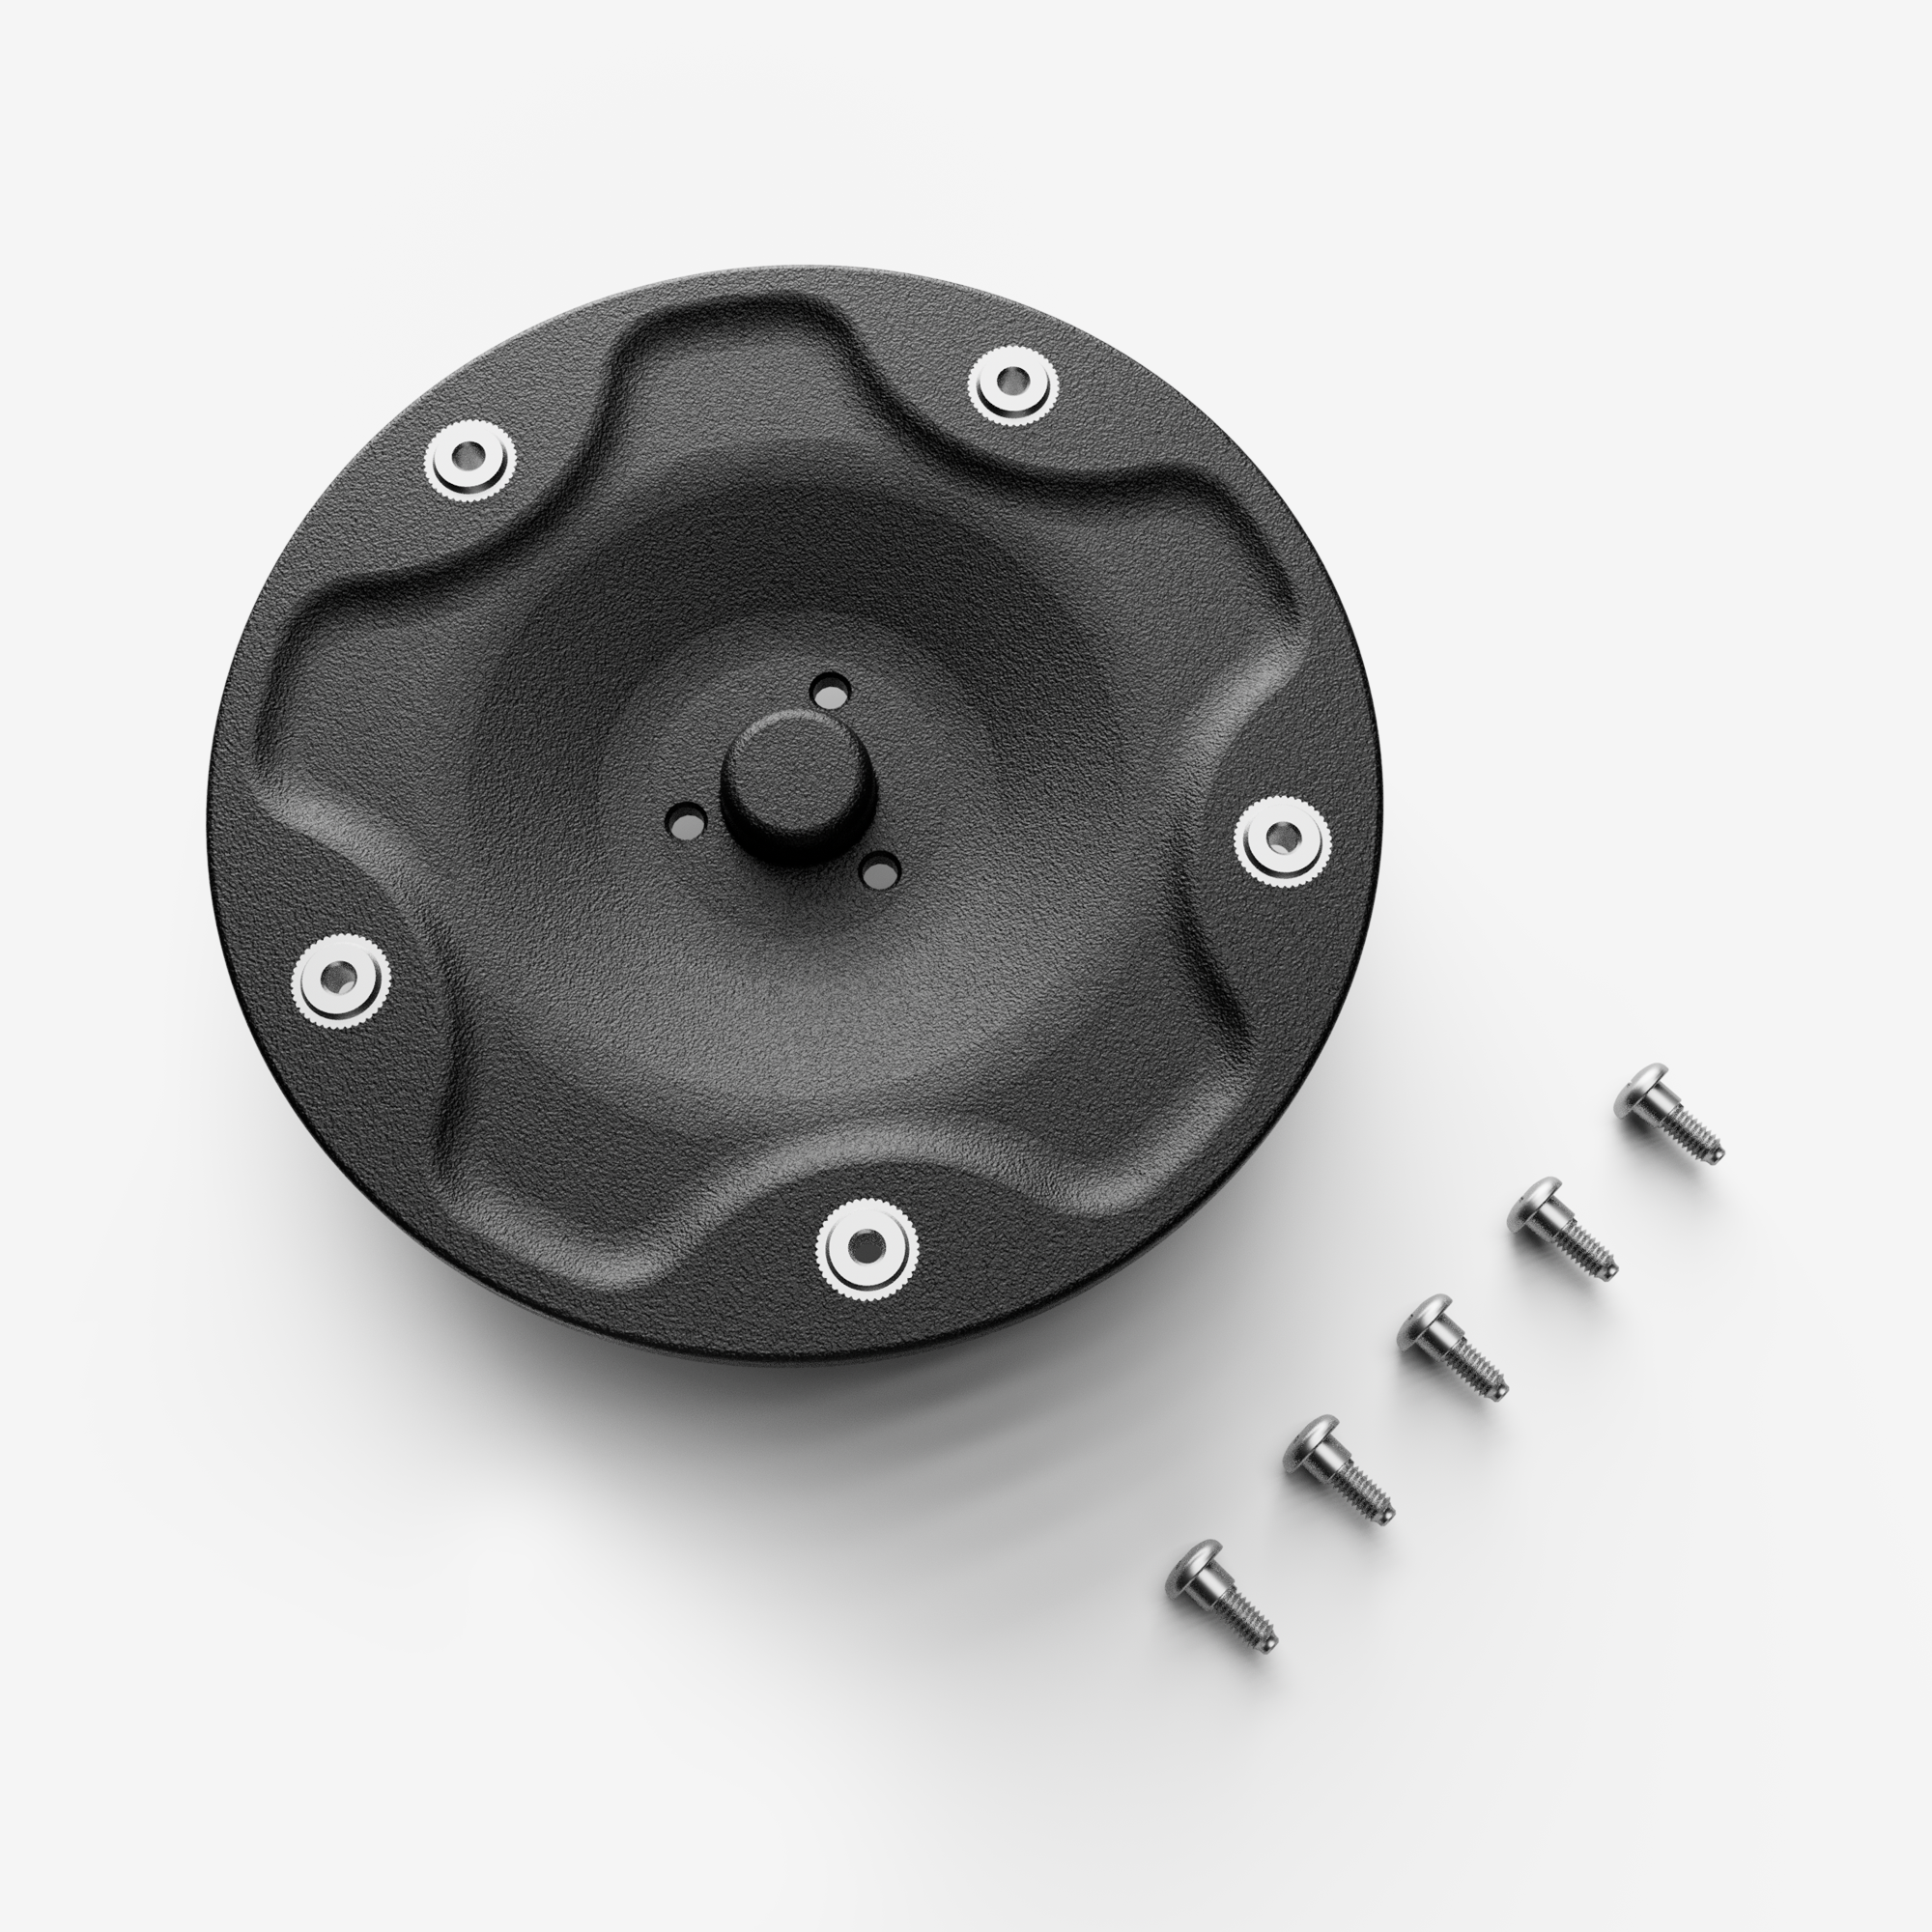
- Blades – Replace if dull, rusted, or chipped. Most manufacturers recommend replacing every 3–8 months depending on use.
- Blade screws – Tighten or replace if rusted.
- Wheels and bearings – Spin them freely; listen for squeaks or grinding. Clean away built-up debris or dirt.
If you’ve noticed odd behaviour (noise, misalignment, cutting issues) during the season, this is a good time to troubleshoot or take it in for professional servicing.
With your mower clean, charged, and checked — you’re now ready to deal with the charging station and wiring, which is just as important for long-term reliability.
Charging Station & Wiring Winterize Storage
Many homeowners focus only on storing the mower itself, but neglecting the charging station and wiring can lead to avoidable headaches come spring. If your system includes a boundary wire or GPS base station, this step is just as important as prepping the mower.
Unplug and Store the Power Supply
- Disconnect the charging station from mains power. Leaving it powered through winter wastes energy and can expose it to electrical surges or moisture-related damage.
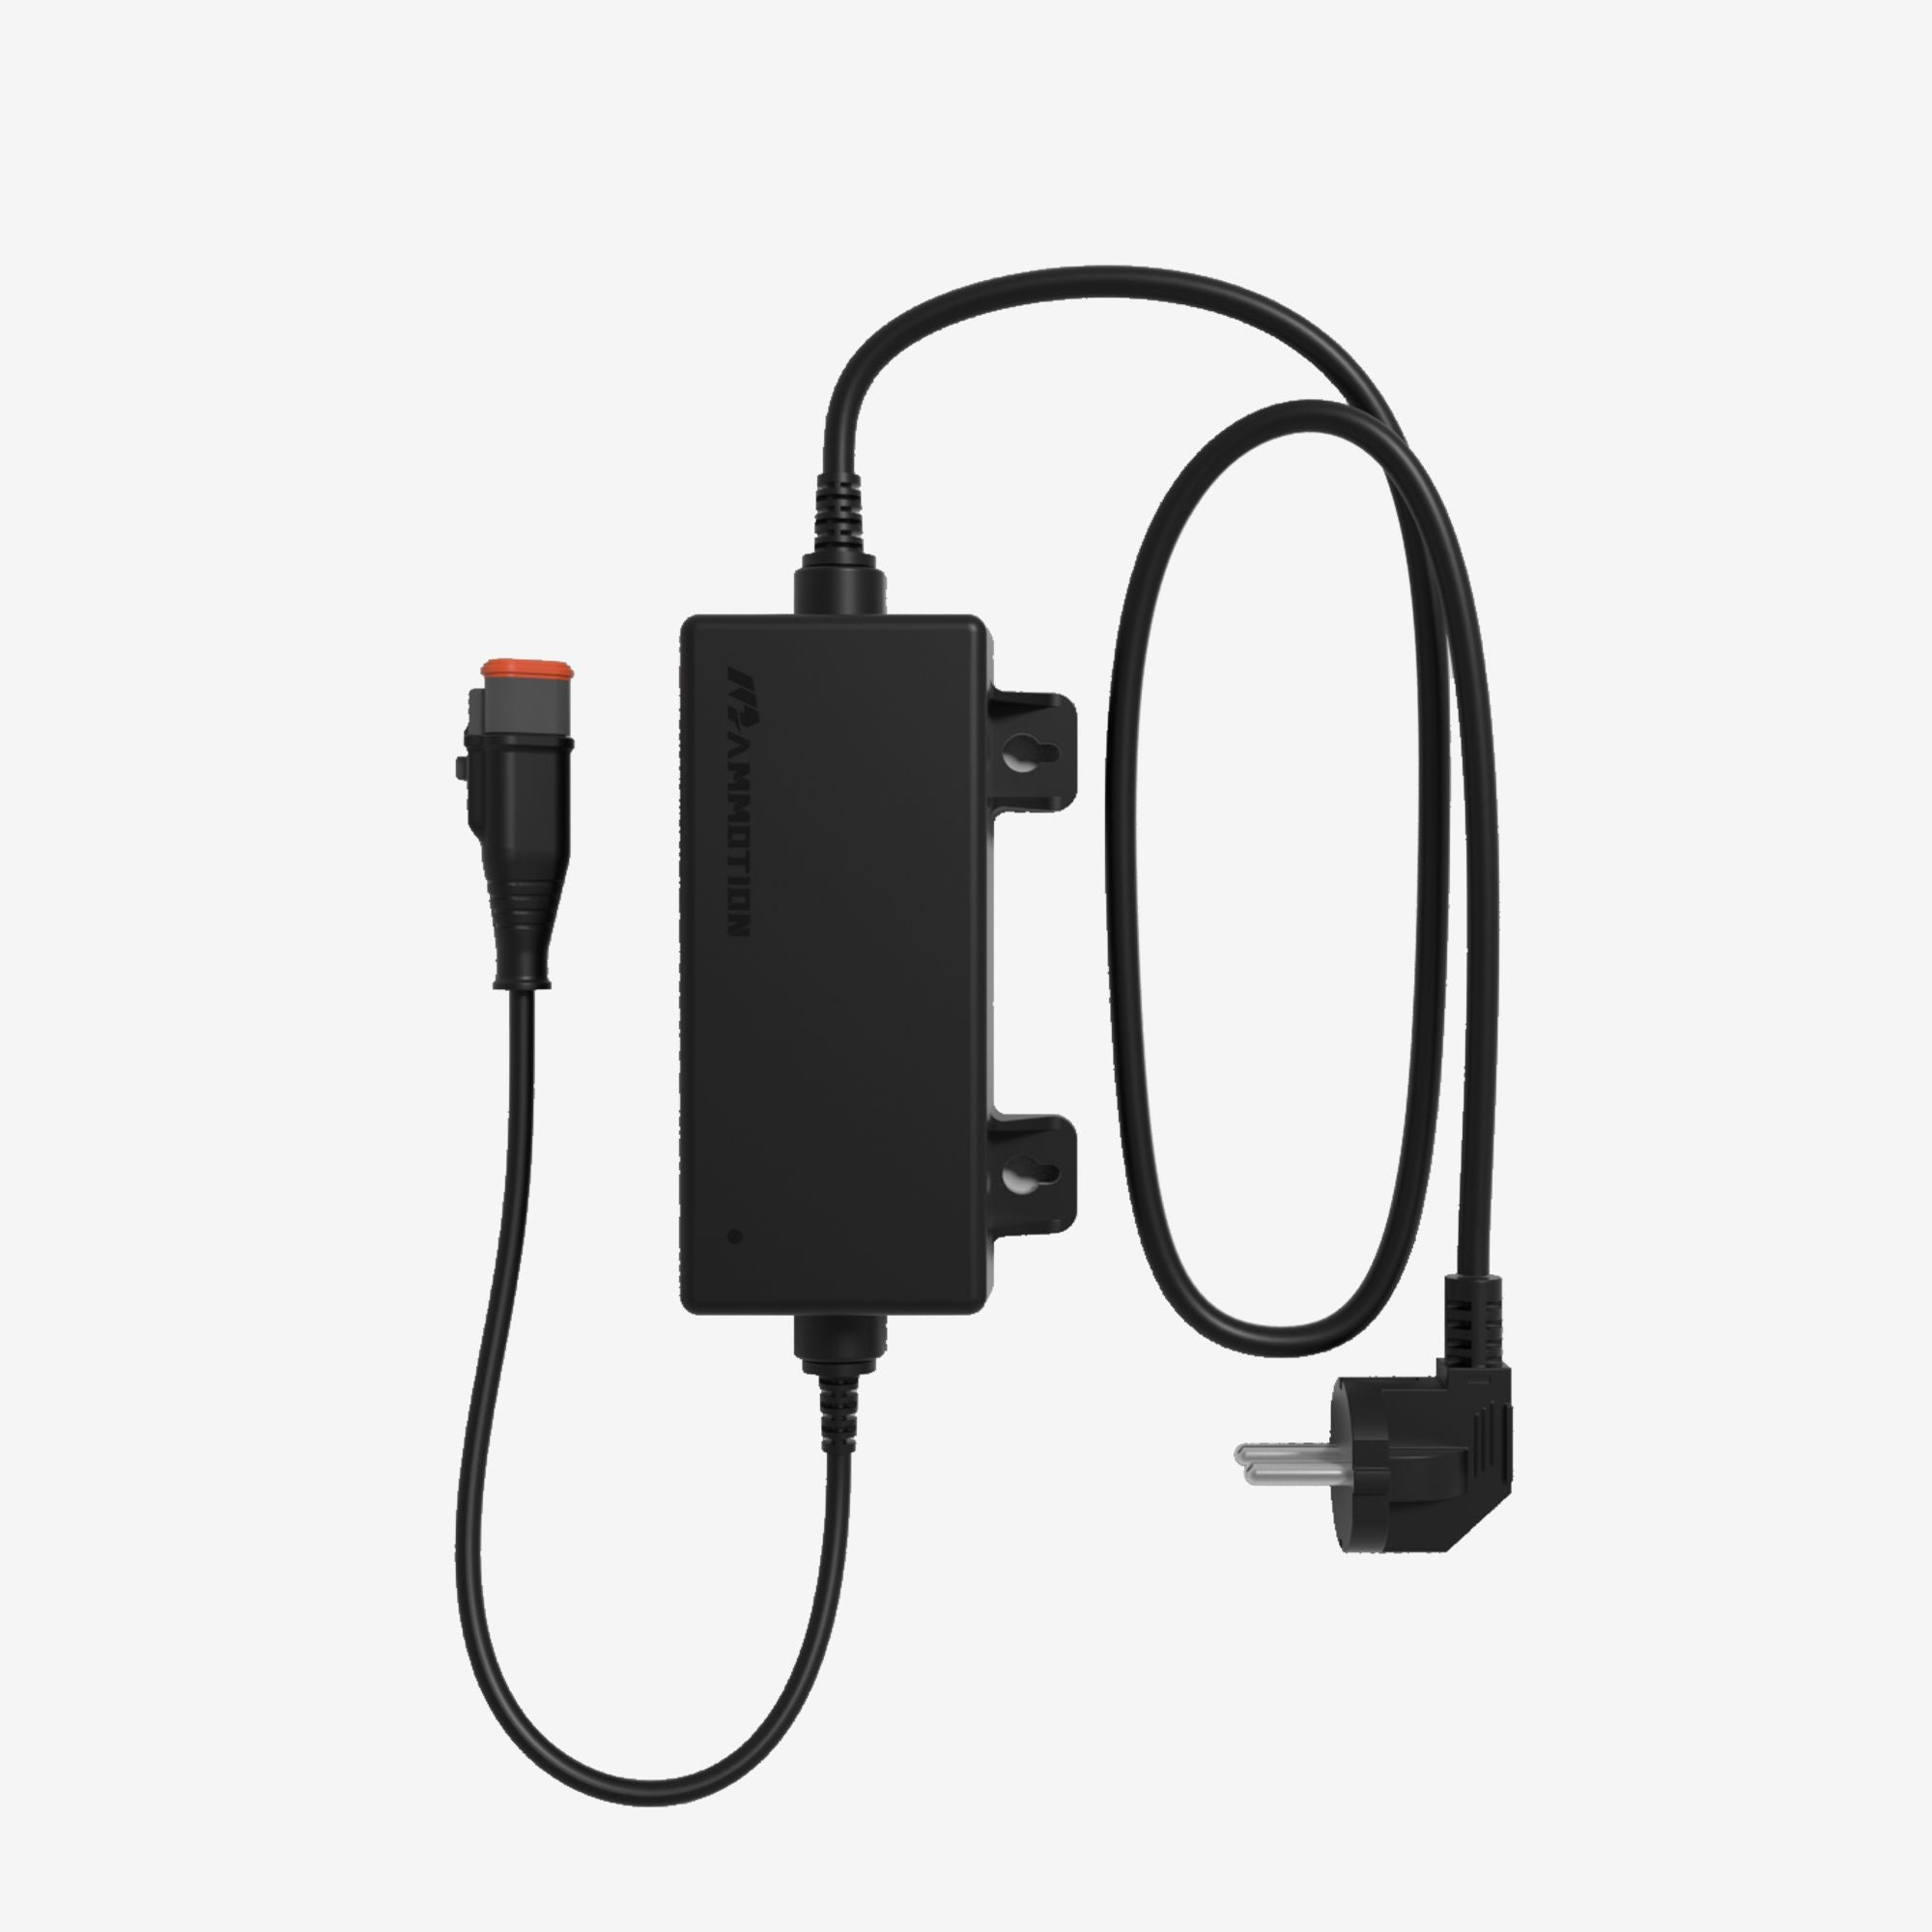
- If your station uses an external power adapter, unplug and store it indoors in a dry, frost-free space — ideally near the mower.
- Some stations are weather-resistant, but even these should be protected from pooling water, direct sun, and humidity.
Disconnect Boundary & Guide Wires (if applicable)
If your system uses buried or above-ground boundary wires:
- Carefully disconnect the wires from the charging station terminals.
- Label each wire (boundary, guide, return) so you can easily reconnect in spring — masking tape and a marker will do.
- Store the exposed wire ends in a weatherproof container or zip-lock bag to prevent corrosion and dirt buildup.
- Leaving exposed wire ends outdoors can cause oxidation or attract insects, making spring reconnection difficult or unreliable.
Optional: Remove & Store the Base Station
Depending on your setup:
- If your base station is portable, consider storing it indoors to extend its lifespan.
- If permanently mounted, you can leave the base plate outdoors — just ensure it’s clean and covered, and that no standing water or pests can collect around it.
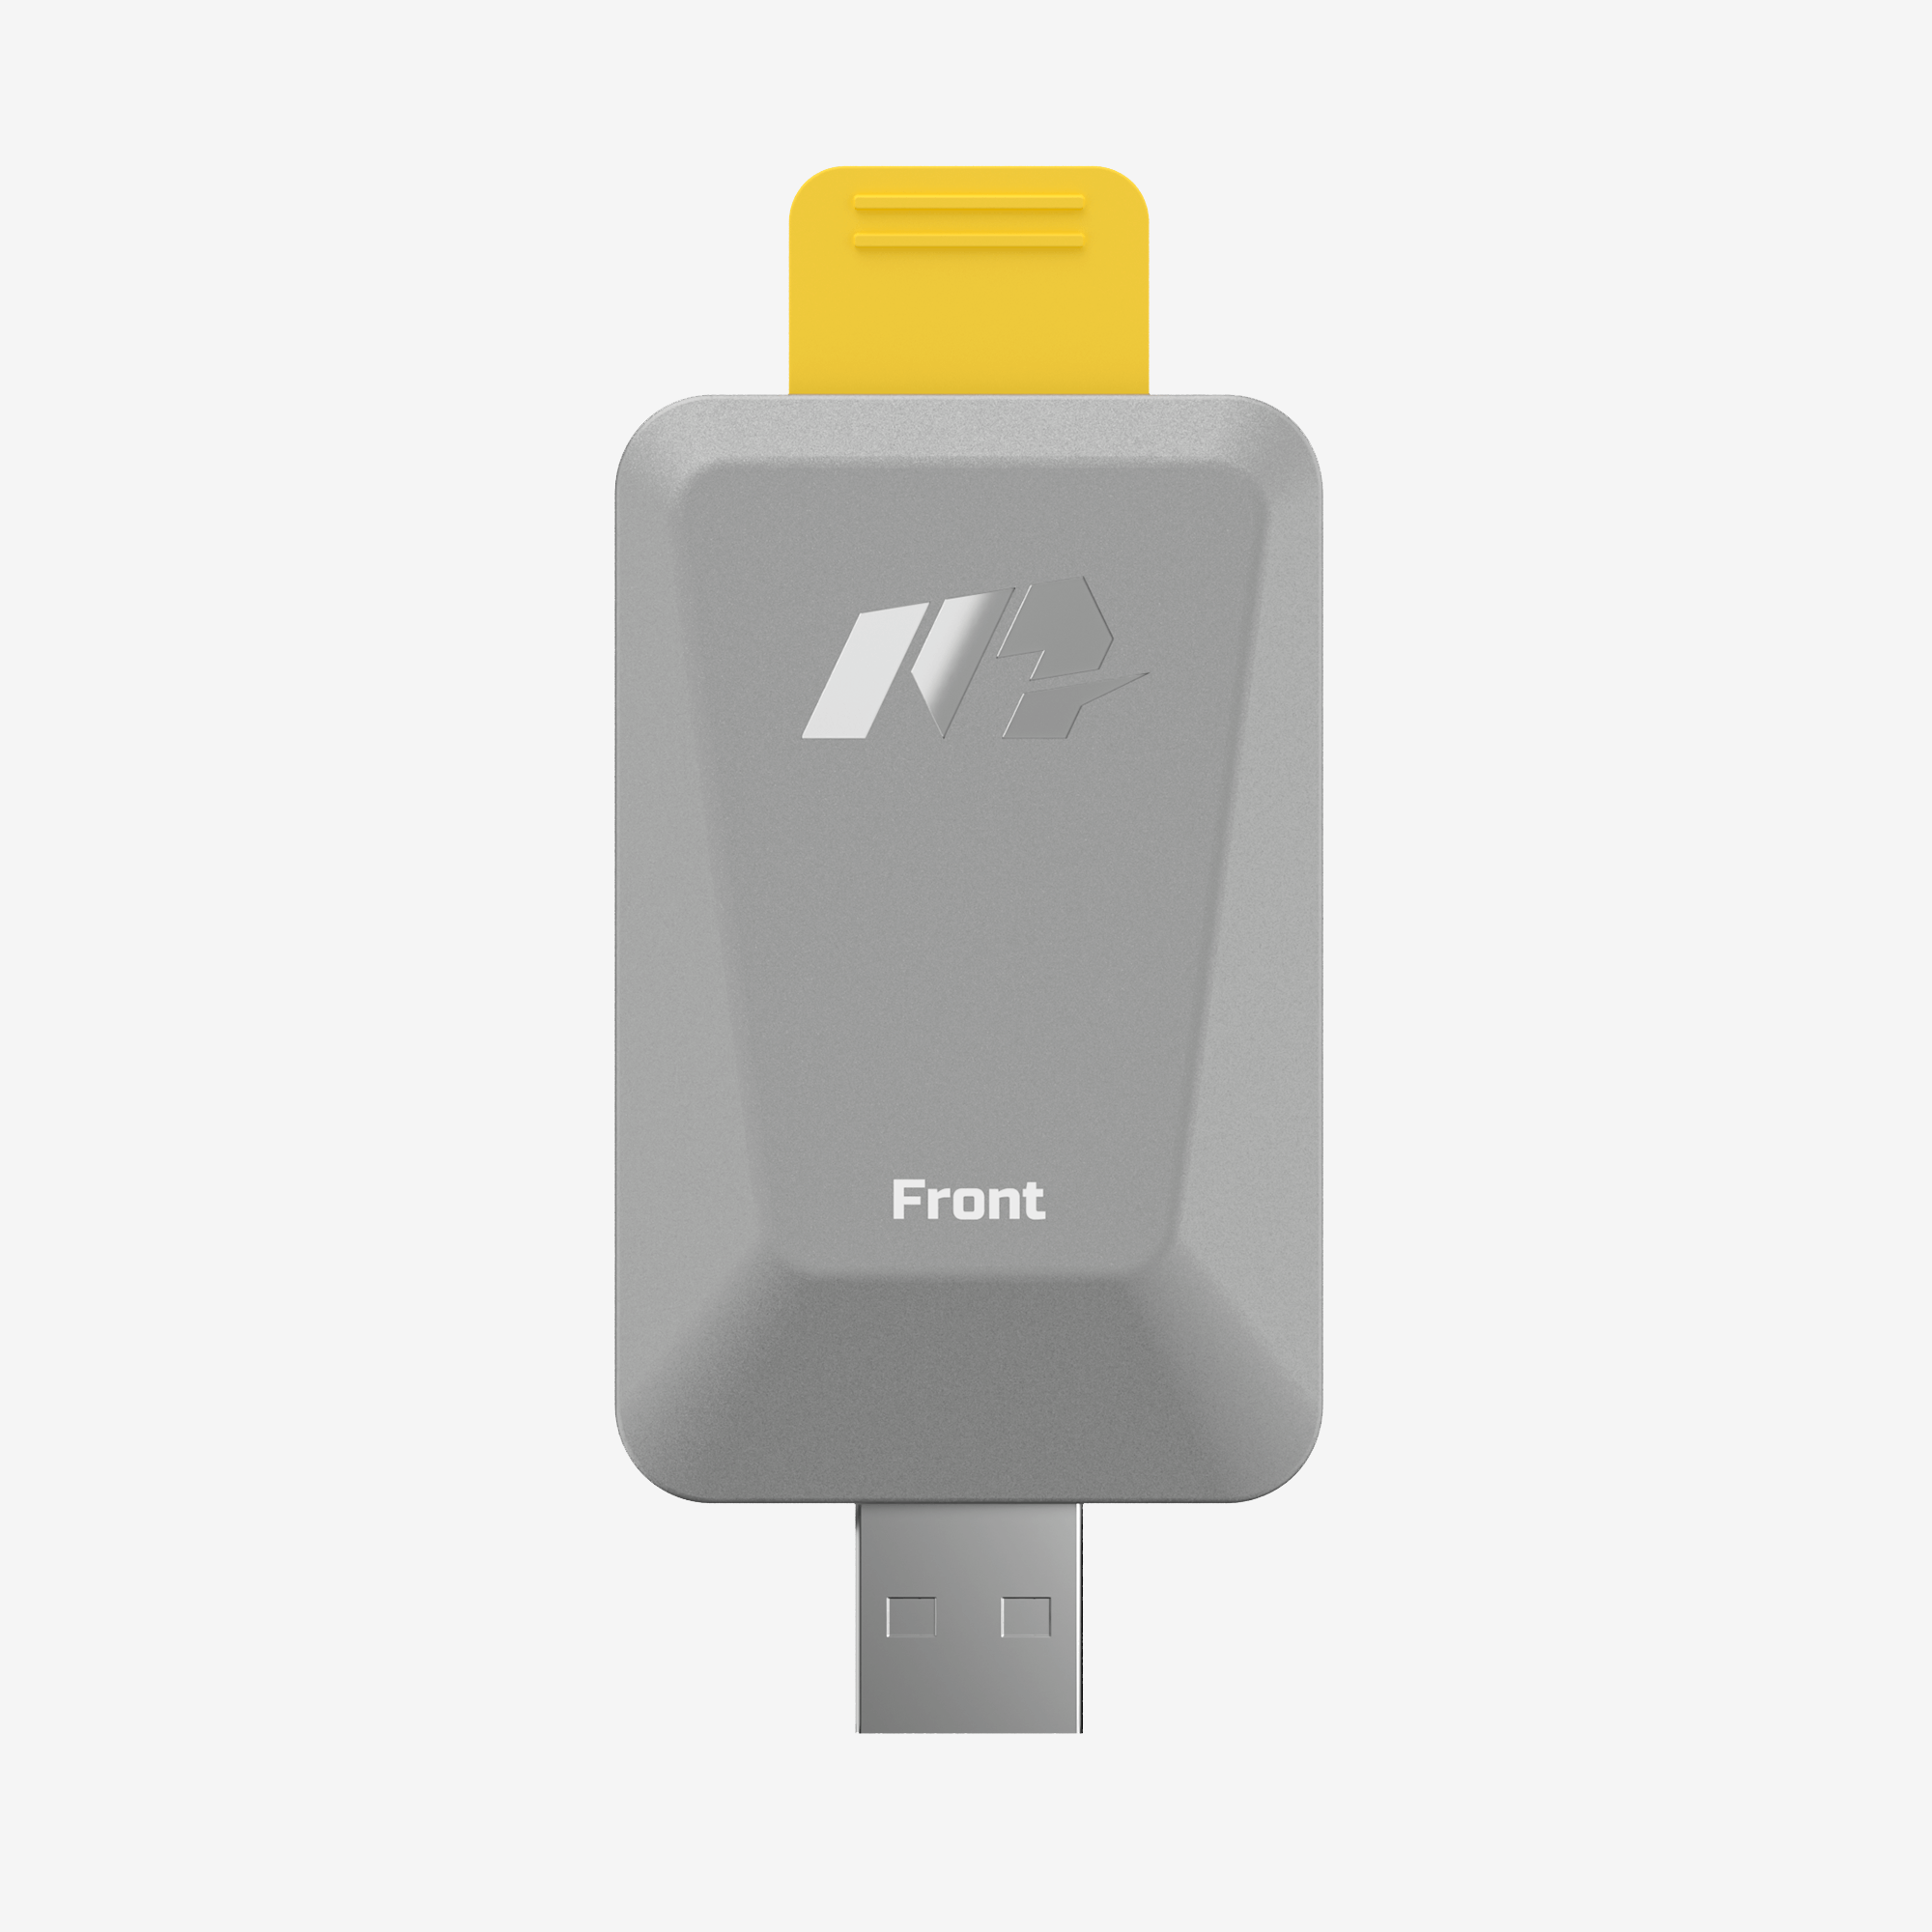
- For boundary-free systems (e.g. Mammotion or Husqvarna EPOS), remove and store the RTK reference station and check firmware updates during the off-season.
- If space allows, consider mounting your station vertically on a wall hook or shelf to keep things neat and off the ground.
With the charging station disconnected and stored correctly, your robot mower setup is now safely offline for the winter season. If you're short on time or prefer a professional touch, you might want to consider a dealer winter service — we'll cover that next.
Optional — Professional Dealer Winter Service
If you're not confident doing the winter prep yourself — or you simply want the best for your mower — many top manufacturers and local dealers across Australia offer professional winter service packages. Think of it like a “health check” and valet service for your robot mower.
What’s Included in a Dealer Winter Service?
While each dealer is different, a typical winter service may include:
- Full internal and external cleaning
- Software/firmware updates to keep your mower current and bug-free
- Battery testing (capacity and health checks)
- Blade replacement and hardware inspection
- Sensor calibration and diagnostic scans
- Moisture and corrosion control
Storage over winter in a temperature-controlled, secure location (sometimes called a "mower hotel")
These services are often recommended annually, especially for high-end models or mowers used commercially.
Why Consider a Dealer Service?
- Peace of mind – You’ll know your mower is clean, safe, and ready to go when spring arrives.
- Extends mower lifespan – Regular servicing reduces wear and unexpected breakdowns.
- Protects your warranty – Some brands may require periodic servicing to maintain warranty coverage.
- Saves you time – No hassle with wires, tools, or cleaning supplies.
You can find authorised service dealers through most manufacturer websites, or through local outdoor power equipment retailers.
Even if you're a DIY type, it might be worth doing a professional service every 2–3 years, just to ensure your mower is performing optimally and receiving the latest updates.
During Storage — What You Need to Do
Once your robotic lawn mower is safely tucked away for winter, your job isn’t quite done yet. While today’s robot mowers are low-maintenance, there are still a few simple things you can do during storage to protect your investment and ensure it wakes up ready for action when spring returns.
Keep It in a Stable, Dry Environment
Your storage space matters — even during the months your mower is powered off.
Best Practices:
- Store your mower in a dry, ventilated area — like a shed, garage, or dedicated cabinet.
- Avoid placing it directly on cold concrete; use a wooden shelf, pallet, or plastic tray to reduce moisture transfer.
- Keep it away from chemicals (e.g. lawn feed, fuel, pesticides), which can corrode components over time.
Tip: If you're in a colder region (like parts of Victoria or Tasmania), make sure the mower isn’t exposed to frost or freezing temperatures, especially if the battery is still inside the unit.
Battery Maintenance Tips
Most modern robotic mowers have lithium-ion batteries that require little to no intervention once powered off — provided you followed the steps in Section 3 to charge them properly before storage.
For modern mowers (2020+):
- No need to "top up" or cycle the battery during winter.
- Just ensure it's stored in a room-temperature environment (ideally 10–25°C).
For older models:
- Check the manual — some recommend recharging every 2–3 months to prevent deep discharge.
- If your mower has a removable battery, store it separately in a padded, dry box away from extreme heat or cold.
Never attempt to charge a cold mower or battery. Let it reach room temperature first to avoid condensation and electrical faults.
That’s it — with a little care, your mower will remain in top shape all winter long. Coming up next: when spring arrives, how do you safely bring it out of hibernation?
Spring Re‑Commissioning After Winter Storage
When the days start getting longer and your lawn springs back to life, it’s time to wake your robotic mower from hibernation. Re-commissioning it correctly ensures a smooth start and helps avoid common issues like error codes, poor mowing patterns, or battery glitches.
Reverse Your Storage Steps
Start by reversing the winter prep process, step by step:
1. Bring the mower to room temperature if stored in a cold shed or garage.
2. Give it a quick visual inspection:
- Check for spider webs, insects, corrosion, or signs of moisture.
- Spin the wheels and blades to ensure they’re moving freely.
3. Clean off any dust that may have settled during storage.
4. Power the mower on and listen for any error beeps or alerts.
Reconnect & Test Charging Station
Reconnect your charging station and power supply:
- Plug everything in and confirm that indicator lights turn on as expected.
- Reconnect boundary and guide wires, referring to the labels or photos you took in winter.
- If using a GPS or RTK station (e.g. Mammotion, Segway Navimow), recalibrate the system — this may involve walking the perimeter again via app or console.
Pro Tip: Take a few minutes to update the mower’s firmware if your model supports it — this improves performance, safety, and mapping features.
Final Checks Before the First Mow
Before sending the mower back into the garden:
- Reinstall any blades you removed, and double-check screw tightness.
- Inspect the cutting height setting — adjust it slightly higher for the first few spring mows.
- Check mobile app or display settings to ensure the mowing schedule, boundaries, and preferences are still intact.
- Let it run a short test cycle to confirm the mower returns to the charging station correctly.
If all goes well, you’re ready for a new mowing season with minimal fuss!
In the next section, we’ll tackle some common post-winter issues and frequently asked questions, just in case something doesn’t go quite to plan.
Troubleshooting & FAQs
Even with proper winter care, robotic mowers can be a little fussy when coming out of hibernation. Here are some common issues Australian homeowners face — along with quick fixes to get things back on track.
1. Can I leave my robotic mower outside over winter?
Technically yes — but it’s not recommended unless your unit and base station are specifically rated for outdoor winter storage (rare in Australia). Moisture, pests, and temperature swings can cause battery or sensor issues.
Best practice: Always store the mower and power components indoors in a dry, ventilated space.
2. Can I charge the mower while it’s still cold from storage?
No — let your mower warm up to room temperature before charging. Charging cold lithium batteries can damage cells or shorten lifespan.
3. My mower won’t start after storage — what should I check first?
Try these quick checks:
- Power switch — Is the mower fully turned on?
- Battery level — Is it fully charged?
- Charging contacts — Are they clean and corrosion-free?
- Boundary/guide wires — Are they properly connected and undamaged?
- Error messages — Check the display or app for diagnostic codes.
Still stuck? Refer to your brand’s troubleshooting guide or contact your local dealer.
4. Do I need to replace the blades every year?
Most blades should be replaced every 2–3 months during active mowing seasons. If you didn’t replace them before winter storage, now’s the time — especially if they show signs of rust, dullness, or chipping.
5. What if I forgot to winterize my mower?
If your mower was left outside or improperly stored:
- Bring it indoors and let it fully dry out.
- Charge it only after it’s warmed to room temperature.
- Inspect thoroughly for rust, mould, or animal damage.
- Clean and test-run it before sending it back into the lawn.
If in doubt, book a professional service — early intervention can prevent expensive repairs.
Conclusion – Winterize Your Robotic Lawn Mower Correctly
Taking the time to winterize your robotic lawn mower isn't just a maintenance chore — it’s a smart way to protect your investment, extend its lifespan, and make sure it’s ready to roll come spring.
Whether you’re in chilly Tasmania or mild coastal Queensland, proper winter storage helps avoid your robotic lawn mower from having damage.
And optionally getting a professional winter service for complete peace of mind.
Remember: A robotic mower is a clever, high-tech machine — treat it like a small electric vehicle, not a garden rake.

